
Start With the Soil, Not the Spade
Tilling is about creating a better structure for roots to grow into. It should loosen compacted ground, mix in compost or topsoil where needed, and clear a path for water to move through the bed. If the soil is still wet from rain or irrigation, wait. Wet clay smears, sticks to tools, and forms a tight pan below the surface that plants struggle to push through later.
In Beacon Bay or Gonubie, where gardens often carry a mix of sandy coastal soil and heavier patches near the house, it pays to test one simple thing first. Take a handful of soil and squeeze it. If it holds together like putty and leaves your hand muddy, it is too wet. If it crumbles with a little pressure, it is ready for carefull working.
For new beds, clear out stones, roots, builders rubble and old weed growth before you start. That first clean-up makes the tilling easier and gives a more even bed depth. If the area has been driven over or used for storage, expect harder ground in the wheel tracks and along the edges, so plan to make a few lighter passes instead of one deep one.
Choose the Right Depth for the Job
Not every bed needs the same depth. Shallow vegetable beds may only need loosening to 150 to 200 mm, while a long-term planting area can benefit from deeper preparation if the soil is compacted. The aim is to open the root zone without turning the whole plot into powder. Overworked soil loses structure and can crust over after the first hot spell.
If you are preparing ground for herbs, flowers or a kitchen garden, work the top layer, then mix in compost rather than churning everything from top to bottom. For lawns being turned into beds, cut the turf first and remove it properly. Leaving grass mats under the surface can make drainage patchy and lead to sour soil later on.
- Loosen the top layer before adding compost or manure.
- Keep depth even across the bed so irrigation runs evenly.
- Break large clods by hand instead of over-tilling the same strip.
- Leave a little texture in the finish, not a fine dust.
A bed with a slightly rough surface actually settles better after watering. That small bit of texture helps mulch hold in place and reduces runoff when summer rain comes through.
Work With the Coastal Weather Window
Along the Eastern Cape coast, weather can change quickly. A bed that seemed ready at breakfast may be too damp by lunch after a shower, mist or a heavy watering cycle. The best time to till is after the topsoil has dried enough to break cleanly, but before it gets baked hard by wind and sun. Early morning after a dry spell is often best, especially on heavier ground around Qonce and Port Alfred.
Coastal humidity also changes how long prepared soil stays workable. A freshly opened bed can crust over if it sits uncovered in wind for too long, so have compost, seed trays, drip lines or mulch ready before the tiller comes out. If you are doing a bigger patch, split the work into sections and cover finished areas with shade net, old sacks or mulch to slow surface drying.
Where municipal water use is under pressure, it makes sense to prepare the bed once and water it properly after planting rather than soaking it repeatedly during preparation. That saves water and stops the soil from sealing up between passes.
Use the Right Equipment for Ground Conditions
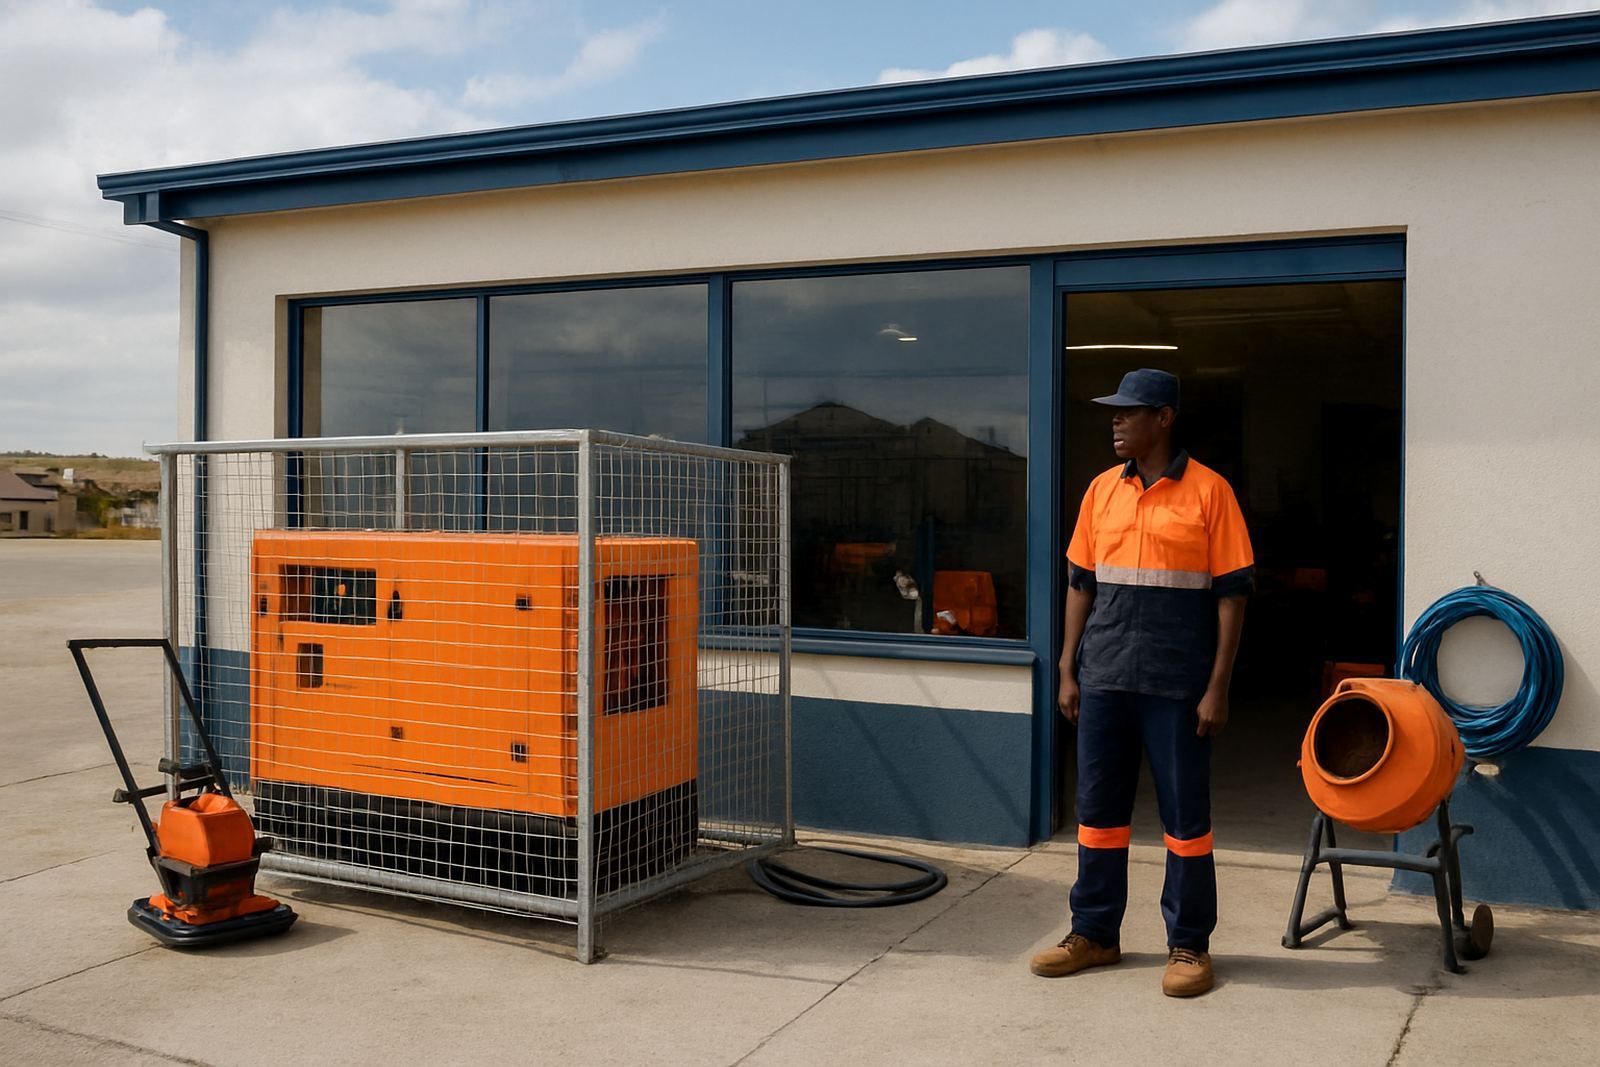
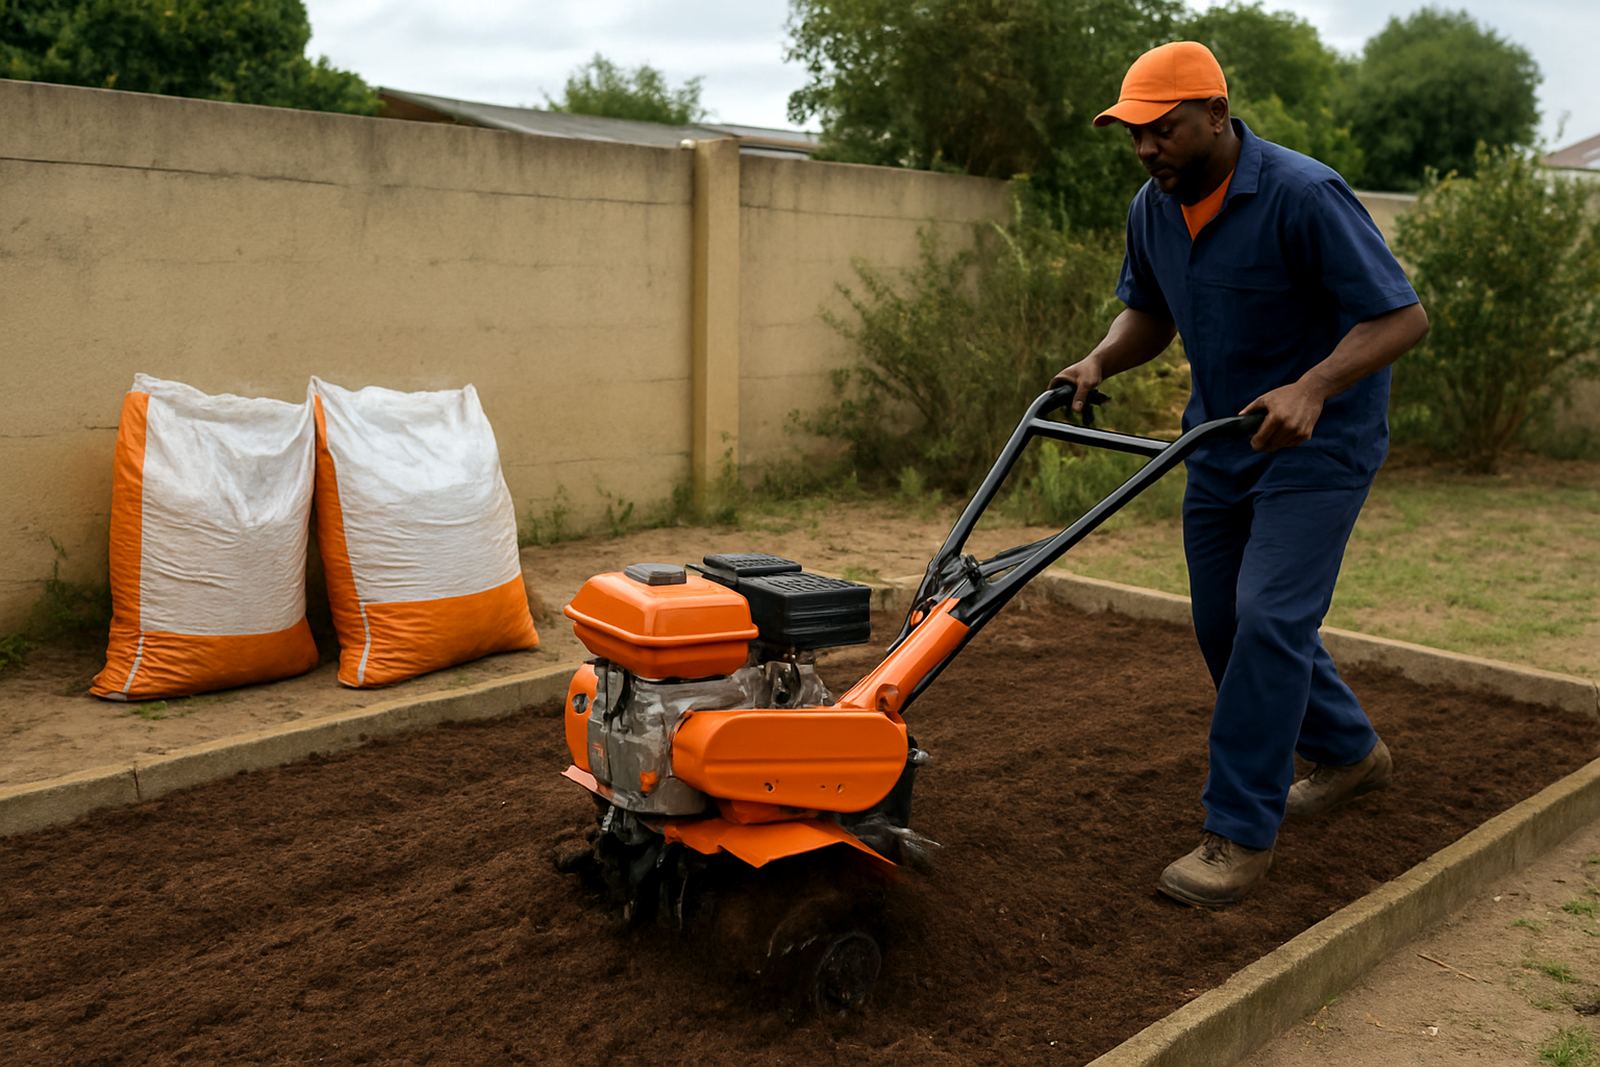
Small garden beds, new lawn edges and softer sandy soil can often be handled with a lighter machine or hand tools. Hard ground, clay patches and larger plots call for more pulling power and a steady hand on the depth. The point is not to attack the soil, it is to open it evenly. If the machine keeps bouncing or digging too deep on one side, stop and reset the depth before you carry on.
For builders, landscapers and home owners, the practical choice is usually about the size of the area and the condition of the ground. A small back garden in Beacon Bay may only need light preparation, while a larger plot in Kidds Beach or a fresh planting strip near a new boundary wall could need multiple passes. Keep the work slow enough to avoid burying debris and quick enough to stop the soil from compacting under foot traffic.
- Check for buried pipes, cables and irrigation lines before you begin.
- Remove stones and offcuts that can damage equipment or bounce out of the bed.
- Keep children and pets away from the work area until the ground has settled.
- Wear boots and gloves, because broken roots and hidden rubble can be sharp.
Do Not Till Wet Soil Twice
The biggest mistake is coming back too soon. If the soil was wet when you started, a second pass only makes the problem worse. You end up with compacted layers below the surface and sticky lumps on top. Once that happens, water sits in the bed after rain, roots stay shallow, and weeds move in where the soil stayed open.
It is better to pause for a day or two than to force the issue. If you need to keep the project moving, finish the border work, mark the planting rows, and organise compost or edging while the soil dries. That way the bed is ready when the ground behaves properly, not before.
This matters a lot in East London after a wet spell. One garden might be ready by Friday, while the next one still holds moisture in the low corner. Treat each bed on its own merits, not by the calendar alone. The soil tells you when to work it, if you take the time to look.
A Local Example from Beacon Bay
A Beacon Bay homeowner recently wanted to turn a narrow side strip into a herb and vegetable bed after years of foot traffic and overspray from the garden hose. The soil on the surface looked fine, but once the top layer was lifted it was damp underneath and packed hard near the path. Instead of rushing through it, the bed was opened in sections, left to dry, then loosened again with compost mixed through the top layer only.
The result was a bed that drained better after the next rain and stayed easier to plant into. Tomatoes, spinach and herbs went in without the roots sitting in mud, and the owner could water once, mulch well, then let the bed settle. That small delay at the start saved a lot of rework later.
That is the real value of tilling new beds properly. It is not about making soil look busy. It is about giving roots room, keeping water movement steady, and setting the garden up to grow with less trouble through the season.
A Simple Bed Prep Checklist Before You Plant
Before you call a bed ready, walk it once more and check the details. The surface should be loose but not dusty, and the soil below should break apart without smearing. If you can smell sour, stale ground, it still needs air. If the bed feels springy underfoot, it has likely been opened enough for planting.
- Wait for the soil to dry to a crumbly texture.
- Remove weeds, roots and rubbish before tilling.
- Work in compost on the top layer rather than overmixing.
- Water after planting, not while the ground is still too wet.
- Mulch once seedlings are in to hold moisture and keep the surface stable.
If the weather keeps turning, it is worth planning your bed preparation around the forecast and not just the weekend. A well-timed session saves effort, protects the soil structure and gives your planting a cleaner start.