
1. Start With the Ground You Actually Have
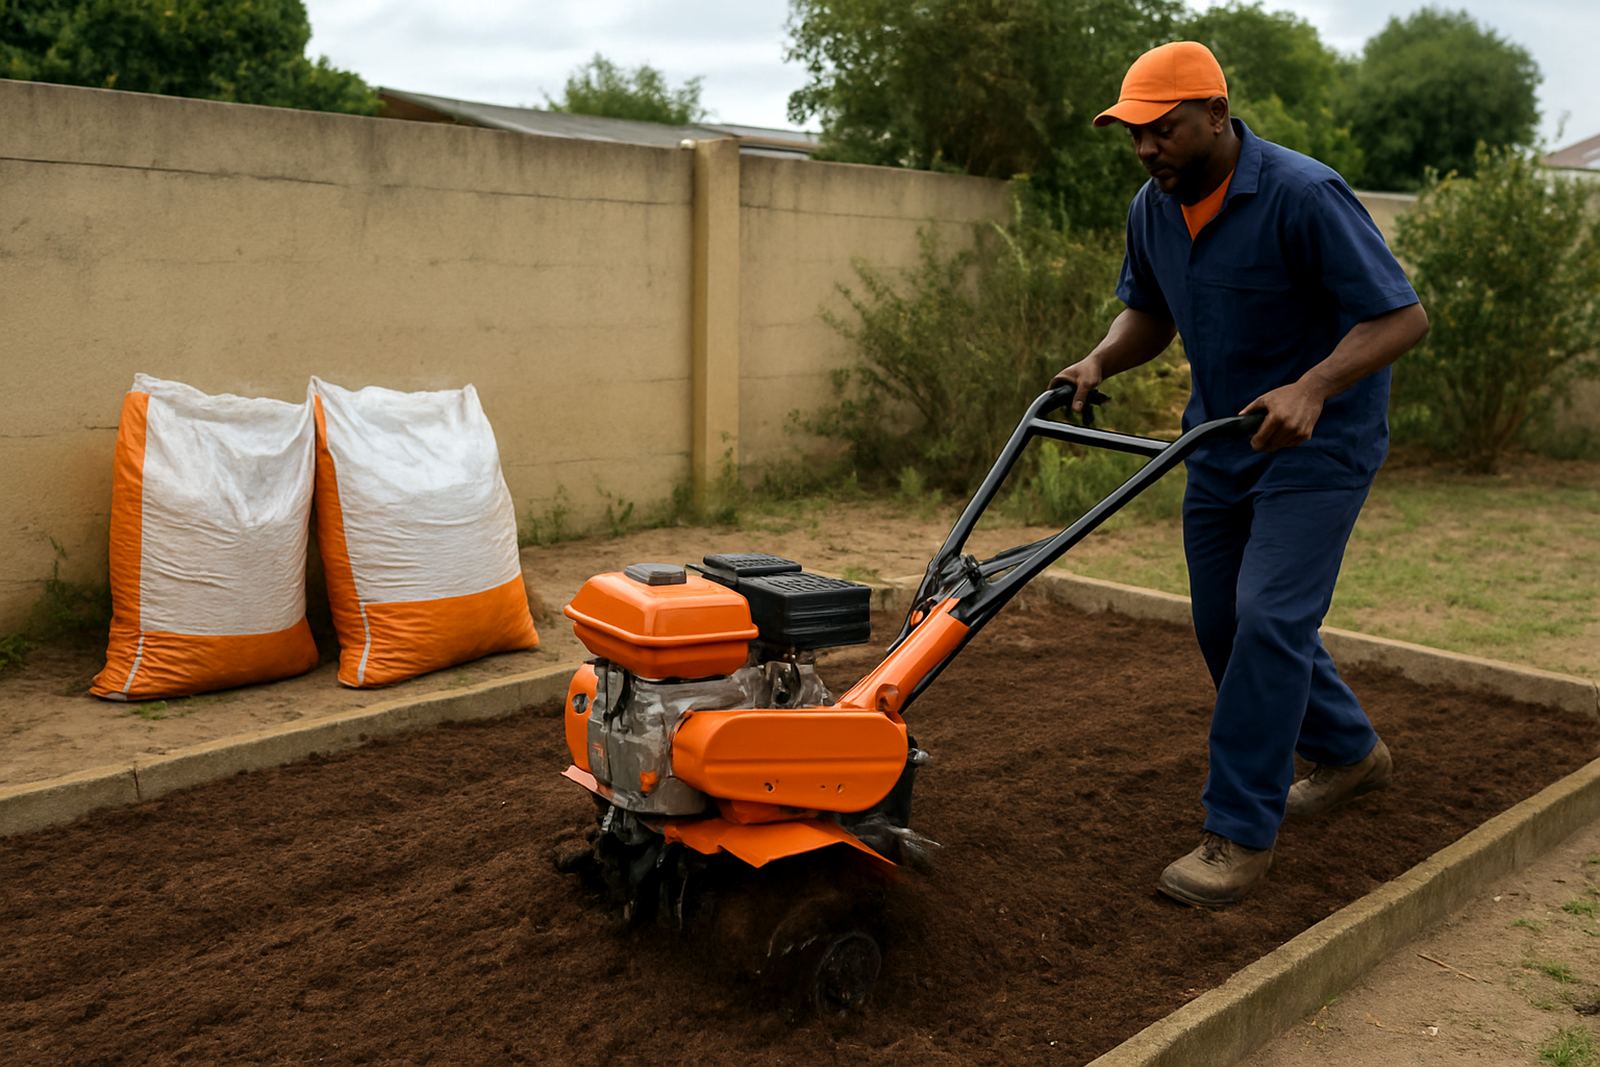
Before any stone goes down, look at the existing ground and be honest about what is there. Sandy coastal soil near Gonubie behaves differently from heavier ground inland around Qonce, and both need proper prep. If the subgrade is soft, wet or full of organic material, the best topping in the world will not hold up for long.
Walk the area after rain if you can. You are checking how water sits, where the low spots are and whether the surface feels spongy underfoot. A driveway base is not only about strength, it is about keeping water moving away from the finished surface.
- Remove grass, roots, topsoil and loose rubble.
- Check for soft patches that give under a boot heel.
- Mark high and low points with stakes or spray paint.
- Plan where runoff will go before you start compacting.
2. Get the Depth Right Before You Bring in Material
Many driveway problems start when the excavation is too shallow. If you are laying paving for a light home driveway, you still need enough depth for the base, bedding layer and the finished surface. For heavier use, such as bakkies, trailers or site access, allow extra depth and stronger compaction.
In East London and the coastal belt, there is also the issue of moisture. Humid conditions and wind driven rain can soften an underprepared base fast, so leave no loose layer underneath. If you are unsure of the exact build up, measure the full depth and make one clear plan before the first load arrives.
- Allow for excavation, base stone, bedding sand or crusher dust, and the finish layer.
- Keep the base even across the full width of the driveway.
- Do not build over plant matter or buried builders waste.
- Leave room for edging so the sides do not spread later.
3. Compact in Layers, Not in One Big Heap
This is where many jobs go wrong. A thick layer of loose material may look like progress, but it will only settle unevenly later. Build the base in layers and compact each one properly before adding the next. That gives you a tighter, more stable surface and helps the driveway hold shape under traffic.
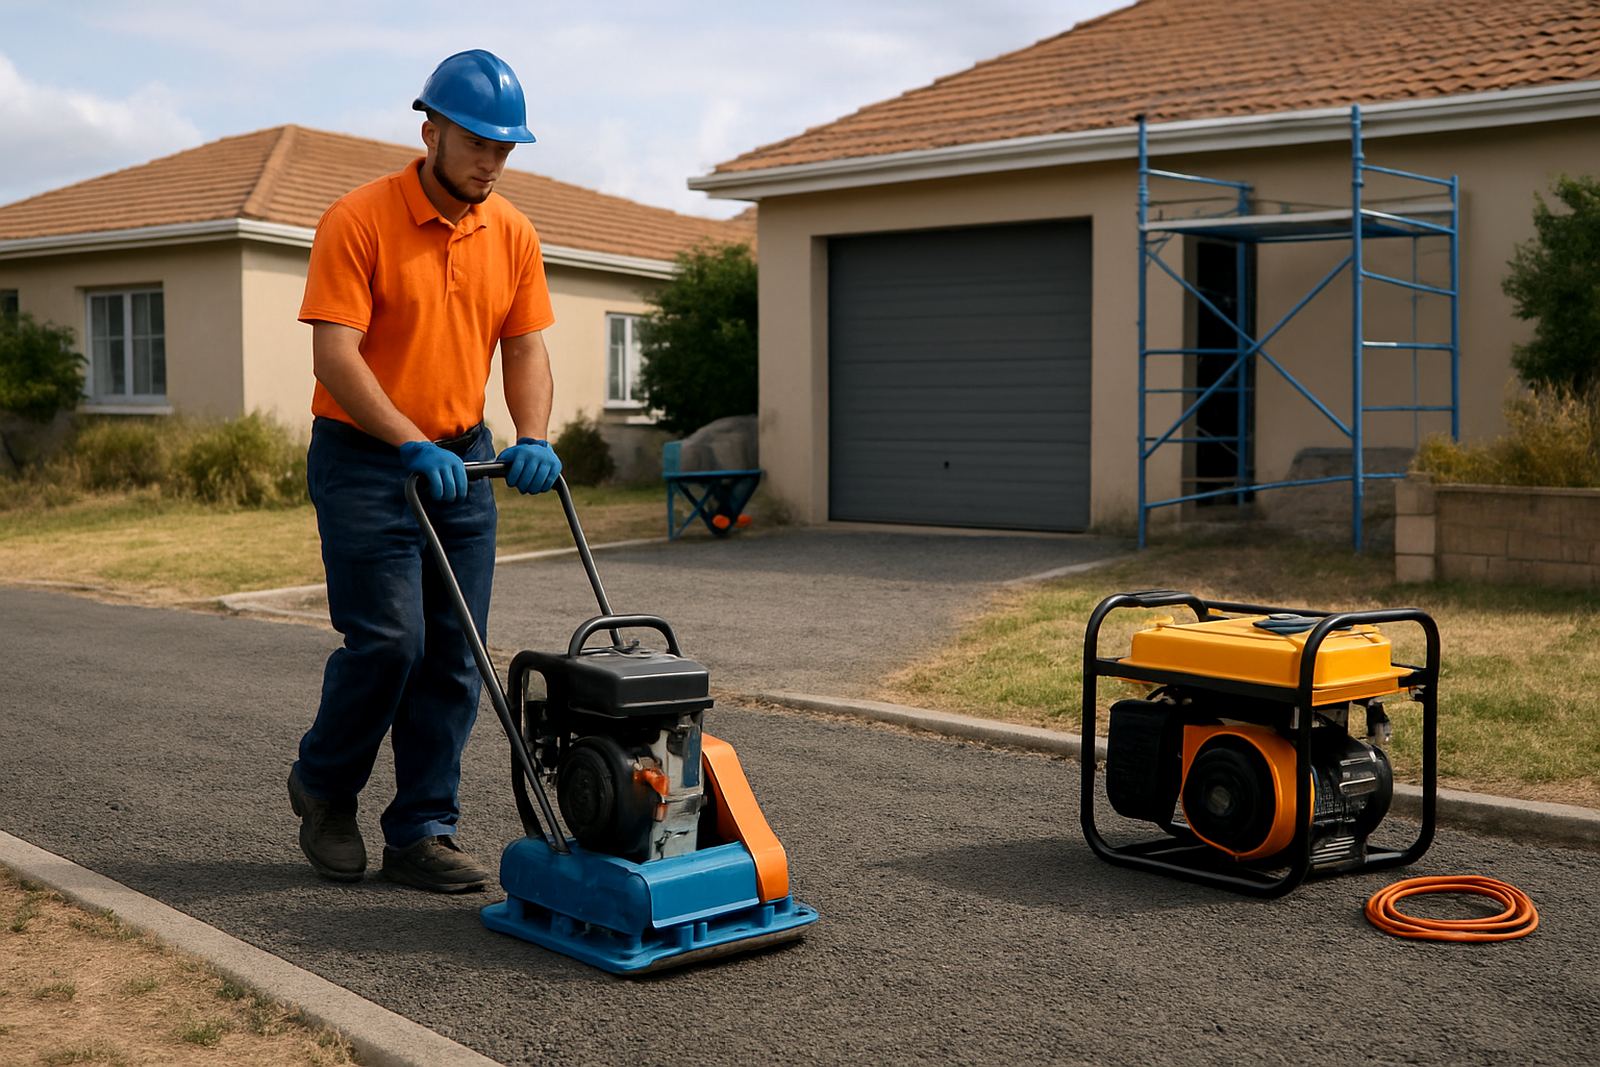
For most small to medium driveway jobs, a plate compactor is the right tool for the base layer. If the area is larger, or if the fill is deep, you may need more than one compaction pass. The surface should feel firm and leave very little mark when walked on. If it still moves underfoot, it is not ready.
- Spread material evenly in lifts of manageable thickness.
- Compact each layer across the full width, including edges.
- Water lightly if the material is too dry to bind properly.
- Recheck levels after each pass, not only at the end.
4. Keep Drainage in Mind From Day One
Water is the enemy of a weak driveway base. If the finished surface sits flat with no fall, rain will collect and work its way down into the layers below. Over time that means movement, soft spots and edge failure. A slight fall away from the house or garage is usually enough, but it must be consistent.
On coastal properties, drainage matters even more because storm water can arrive quickly and the soil may stay damp for longer. Do not trap water at the lowest point of the drive. If there is a drain, channel or garden edge nearby, make sure it can take the flow without washing material away.
- Build a gentle fall so water does not sit on the drive.
- Keep side edges supported with edging or confinement.
- Check that downpipes, drains and run-off paths are clear.
- Avoid creating hollows where puddles will form after rain.
5. Match the Base to the Finish You Plan to Use
The base for paving is not always the same as the base for loose stone or a thin topping. If you are placing interlocking pavers, the surface must be level and tightly compacted with a fine bedding layer above it. If you are doing a topped driveway, the final layer needs a stable, well graded base that will not shift under the roller or compactor.
Think about the actual use of the driveway as well. A family car on weekends is one thing, but a delivery bakkie, trailer or small plant movement is another. If the surface will carry heavier loads, it is worth spending extra time on compaction and edge support now instead of repairing cracks later.
- Confirm what finish is going on top before the base is finalised.
- Use the right bedding layer for the selected surface.
- Strengthen traffic areas and turning points.
- Allow for heavier use near gates, garages and loading areas.
6. Check Your Tools, Crew and Timing Before You Start
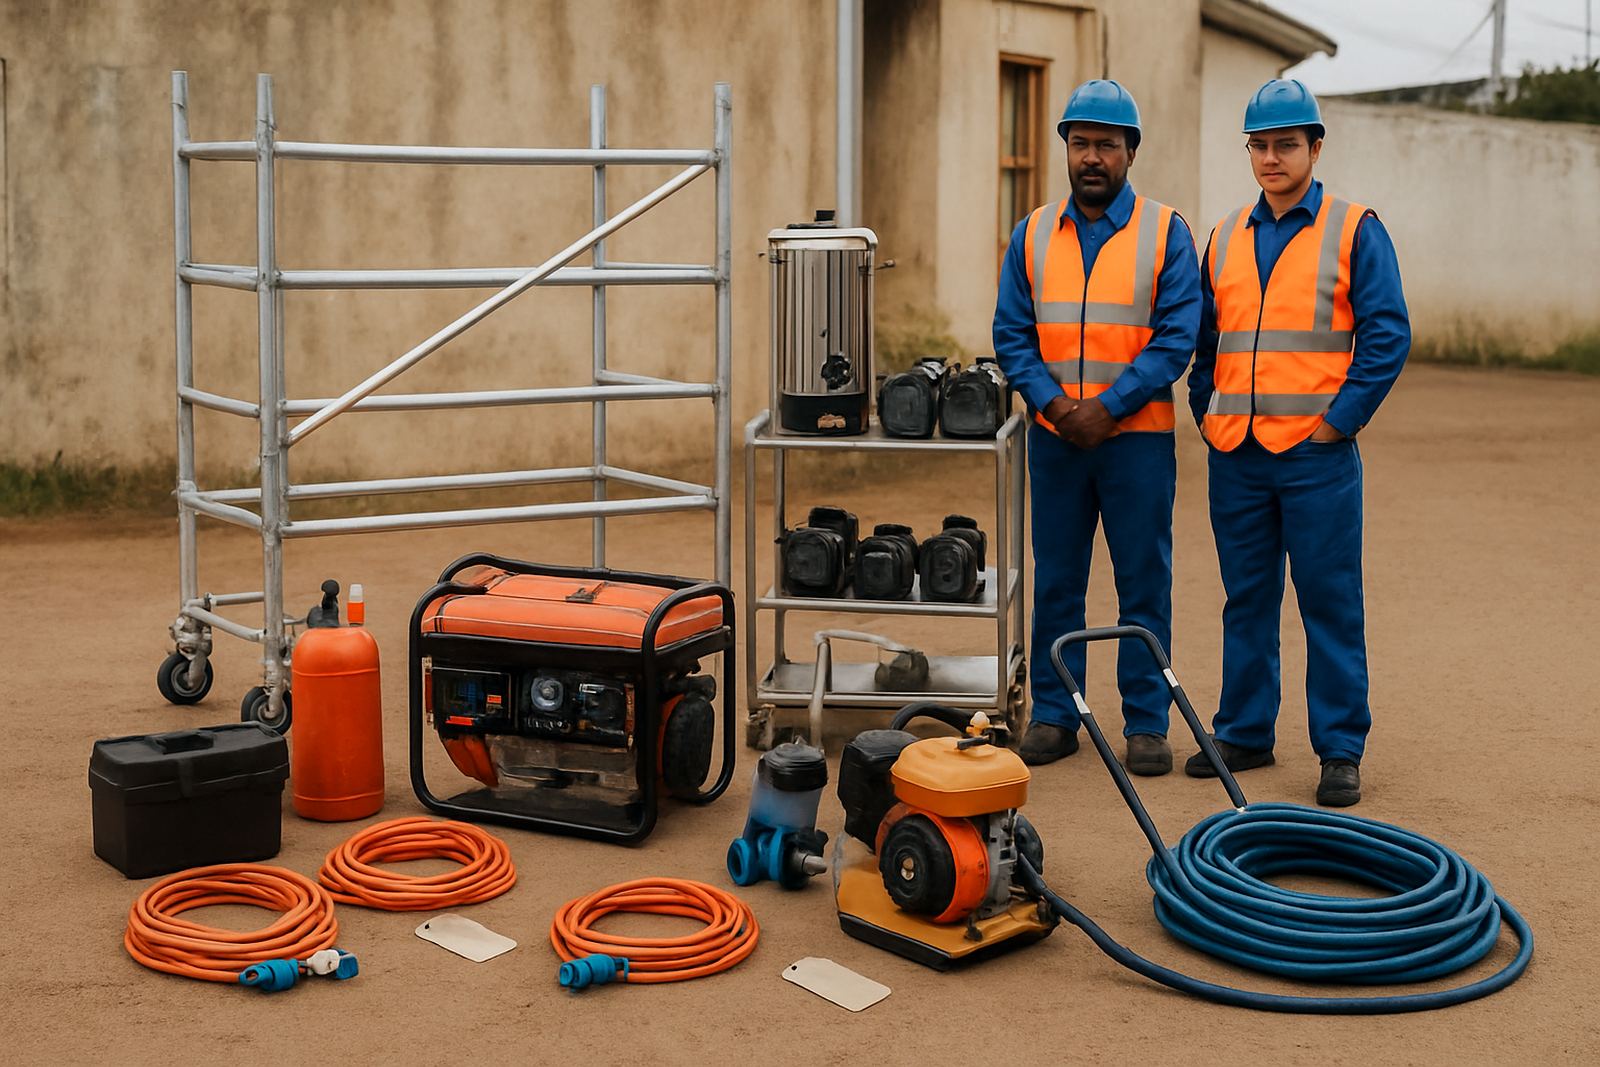
A driveway base job can stall quickly if the wrong tools arrive late or the weather turns. Plan the work so excavation, delivery, compaction and finishing happen in the right order. That means having a clear site, enough labour to spread material and the right equipment on hand before the first load is tipped.
For many homeowners and contractors in Beacon Bay or Port Alfred, it is also worth planning around rainfall and load-shedding. If you need pumps, generators or compactors on site, organise them early so you are not trying to finish a layer with limited power or water management. A short delay is better than a half-done base that has to be opened up again.
- Confirm delivery access for trucks and equipment.
- Book compaction gear for the day you need it, not after.
- Check for overhead cables, gates and tight turning space.
- Keep the site dry enough to work, but not so wet that it pumps under the compactor.
7. A Local Example From Beacon Bay
A recent driveway prep job in Beacon Bay had a common problem: the old surface looked fine from the street but held water near the garage after every heavy shower. The fix started with a full strip back, then a better fall was built into the base and compacted in layers. The owner wanted paving, so the team made sure the final levels were set before any top layer went down.
The big lesson was simple. The finish only looked neat because the base work was done properly first. That is the part people do not see once the driveway is finished, but it is the part that carries the load every day.
If you are planning a new driveway or repairing a soft section, take the time to run through the checklist before you order the top material. It saves money, avoids rework and gives the surface a far better chance in Eastern Cape weather.