
Start With the Line, Not the Cutter
Most rough paving cuts begin with rushed marking. Before you lift a cutter or grinder, set out the full pattern on the ground and check your borders, corners and falls. If the line is wrong by even 5 mm at the start, that small error shows up at the edge wall, around a drain cover, or where the pavers meet a kerb.
On jobs in East London and Beacon Bay, we often see neat paving come down to simple preparation. Use a chalk line, a straight edge and a tape, then dry lay a few pieces to check the joint spacing. If the pattern changes around a manhole or post, mark the cut piece in place rather than guessing from the bench. That saves time and keeps the finish tidy.
- Mark all fixed points first, such as drains, posts and walls.
- Dry lay a small section to confirm the pattern before cutting.
- Allow for joint width and edge restraint so the last piece does not end up too tight.
Choose the Right Cutter for the Job
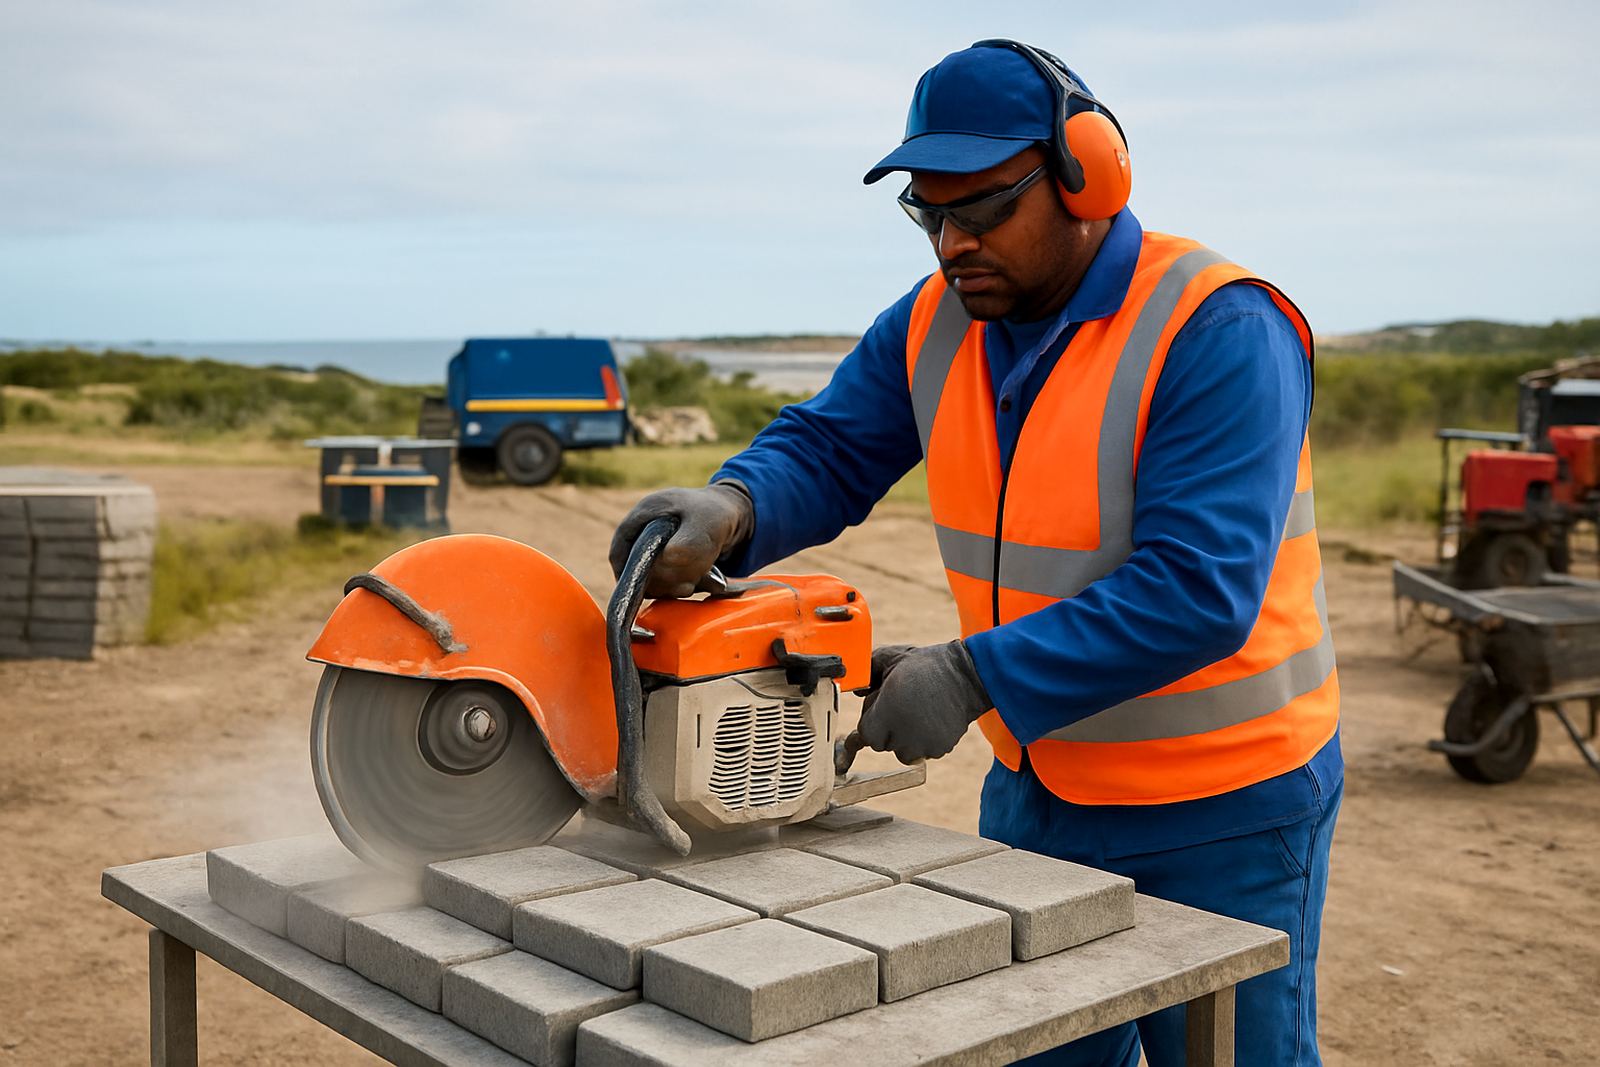
The neatest cut is usually the one made with the right machine for the material. Thin concrete pavers often cut cleanly with a bench saw and a suitable blade, while thicker blocks or hard dressed paving may need a stronger cutter with enough depth. If the blade is worn or not suited to the material, it chips the edge and leaves a ragged line that is hard to hide.
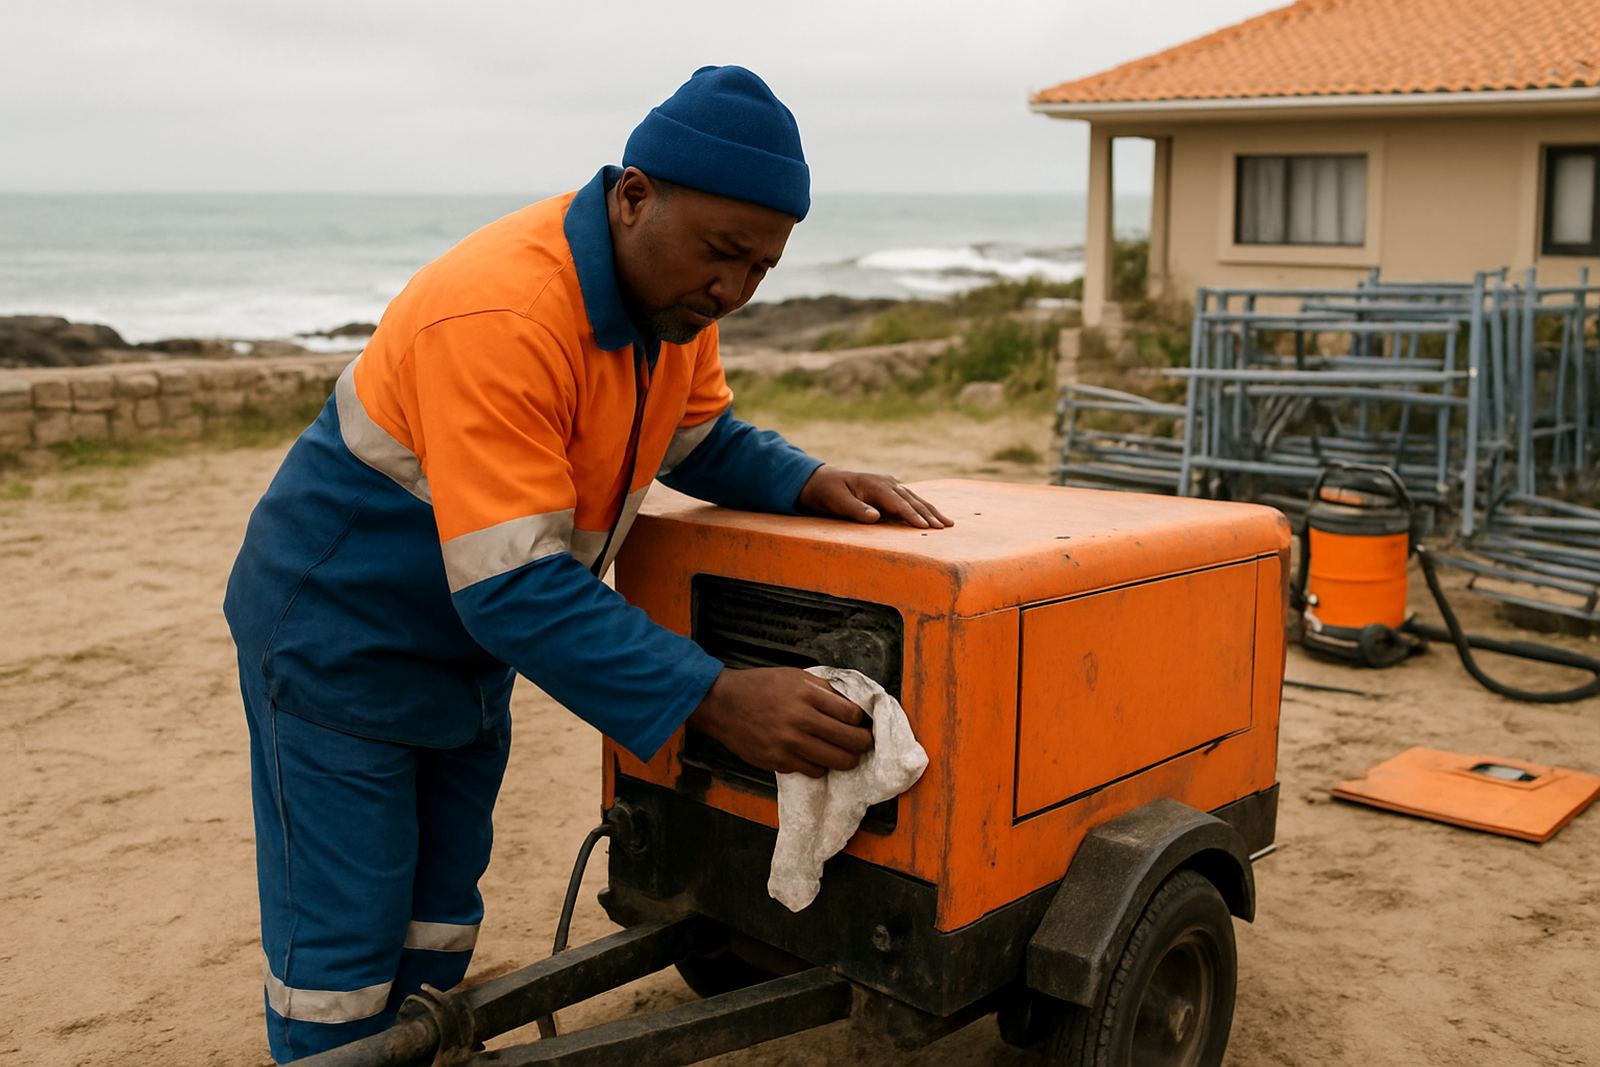
For coastal work around Gonubie or Kidds Beach, keep an eye on moisture and salt in the air too. Equipment that is stored badly rusts quick, and a blade that is clogged with slurry cuts unevenly. Clean the cutter between jobs, check the water feed on wet cutting, and make sure the blade is turning the correct way before you begin. It sounds basic but it saves plenty of grief later.
- Use a blade matched to the paver material and thickness.
- Check guards, water feed and power supply before starting.
- Replace worn blades before they start chipping corners.
Support the Paver So the Cut Stays Straight
A lot of broken edges happen because the paving is not supported properly during cutting. The piece must sit flat and steady so the blade can move through it without vibration. If the paver rocks on a loose pile, the cut wanders. If it hangs over the edge of a table too far, it snaps at the end of the cut.
Use a stable surface and keep the off-cut side supported if possible. For long straight cuts, clamp a guide if the machine allows it. On smaller site repairs in Qonce, we have seen better results when the cutter is set up on level ground instead of on sand bags or uneven rubble. It is slower to set up, but the finish is far better and you lose less material.
- Keep the paver fully supported before the blade enters it.
- Use guides for long cuts where the machine permits.
- Never force the cutter through a piece that is twisting or bouncing.
Make Cleaner Edges With Slow, Steady Passes
Fast cutting is not the same as neat cutting. A steady feed gives the blade time to do the work and reduces chipping at the face. For visible edges, take a light scoring pass first, then deepen the cut. This is especially useful where the pavers run along a driveway entrance or a patio edge that people see every day.
Builders often want to finish a paving section in one rush because the rest of the crew is waiting. That is when corners get knocked and edges look rushed. Better to cut one piece properly than to fit three poor ones. If a cut will be visible, leave the best edge facing out and keep the trimmed side hidden where possible. A little planning here makes the whole job look neater.
Handle Curves, Corners and Drain Covers Properly
Not every cut is a straight line. Curves around beds, corners against boundary walls, and openings for drains need careful marking. For rounded cuts, make a template from cardboard or scrap board first, then transfer the shape to the paving. For drain covers, measure the full frame, not just the lid, so the cut piece sits around it neatly without tight rubbing.
On a paving job near Port Alfred, a homeowner wanted a clean finish around a pool edge and a stormwater lid in the same area. The trick was to complete the straight run first, then trim the detail pieces one by one. That kept the joints even and avoided a patchy finish. The final look was much better than trying to force everything to line up at once.
- Use a template for curves and odd shapes.
- Measure the full drain frame, not only the lid.
- Finish the straight areas first, then trim the detail pieces.
Keep the Site Clean While You Cut
A neat paving job is not only about the cut itself. Dust, slurry and broken pieces make a good surface look untidy. Keep a bucket, broom and rubble bin nearby, and clear offcuts as you go. If you are working near a home, shop entrance or event area, clean working is just as important as the cut line.
For longer hires on coastal sites, ask about fuel management, weekend hire or emergency callout if your machine gives trouble after hours. On one municipal footpath repair in East London, the crew kept the area clear between cuts and that made it easier to check levels and joint lines as they went. The job moved quicker because nobody was stepping over waste all morning.
- Remove offcuts often so they do not interfere with the next cut.
- Keep slurry away from finished pavers before it dries.
- Check every few rows for level, line and joint width.
A Local Example From Beacon Bay
For a driveway in Beacon Bay, the crew had to tie new paving into an older section and match around a gate pillar, a side drain and a small step. The best result came from measuring twice, dry laying the corner area, and cutting the visible edge pieces one at a time. The final row sat straight because the team did not chase the line with hurried trimming.
That is the point with paving: straight cuts are only part of the job, but they carry a lot of the visual finish. If the cutting is tidy, the whole surface reads better. If it is rough, even well laid pavers can look unfinished. Careful setup, proper support and the right cutter make the difference.